
How to upcycle kitchen cabinets

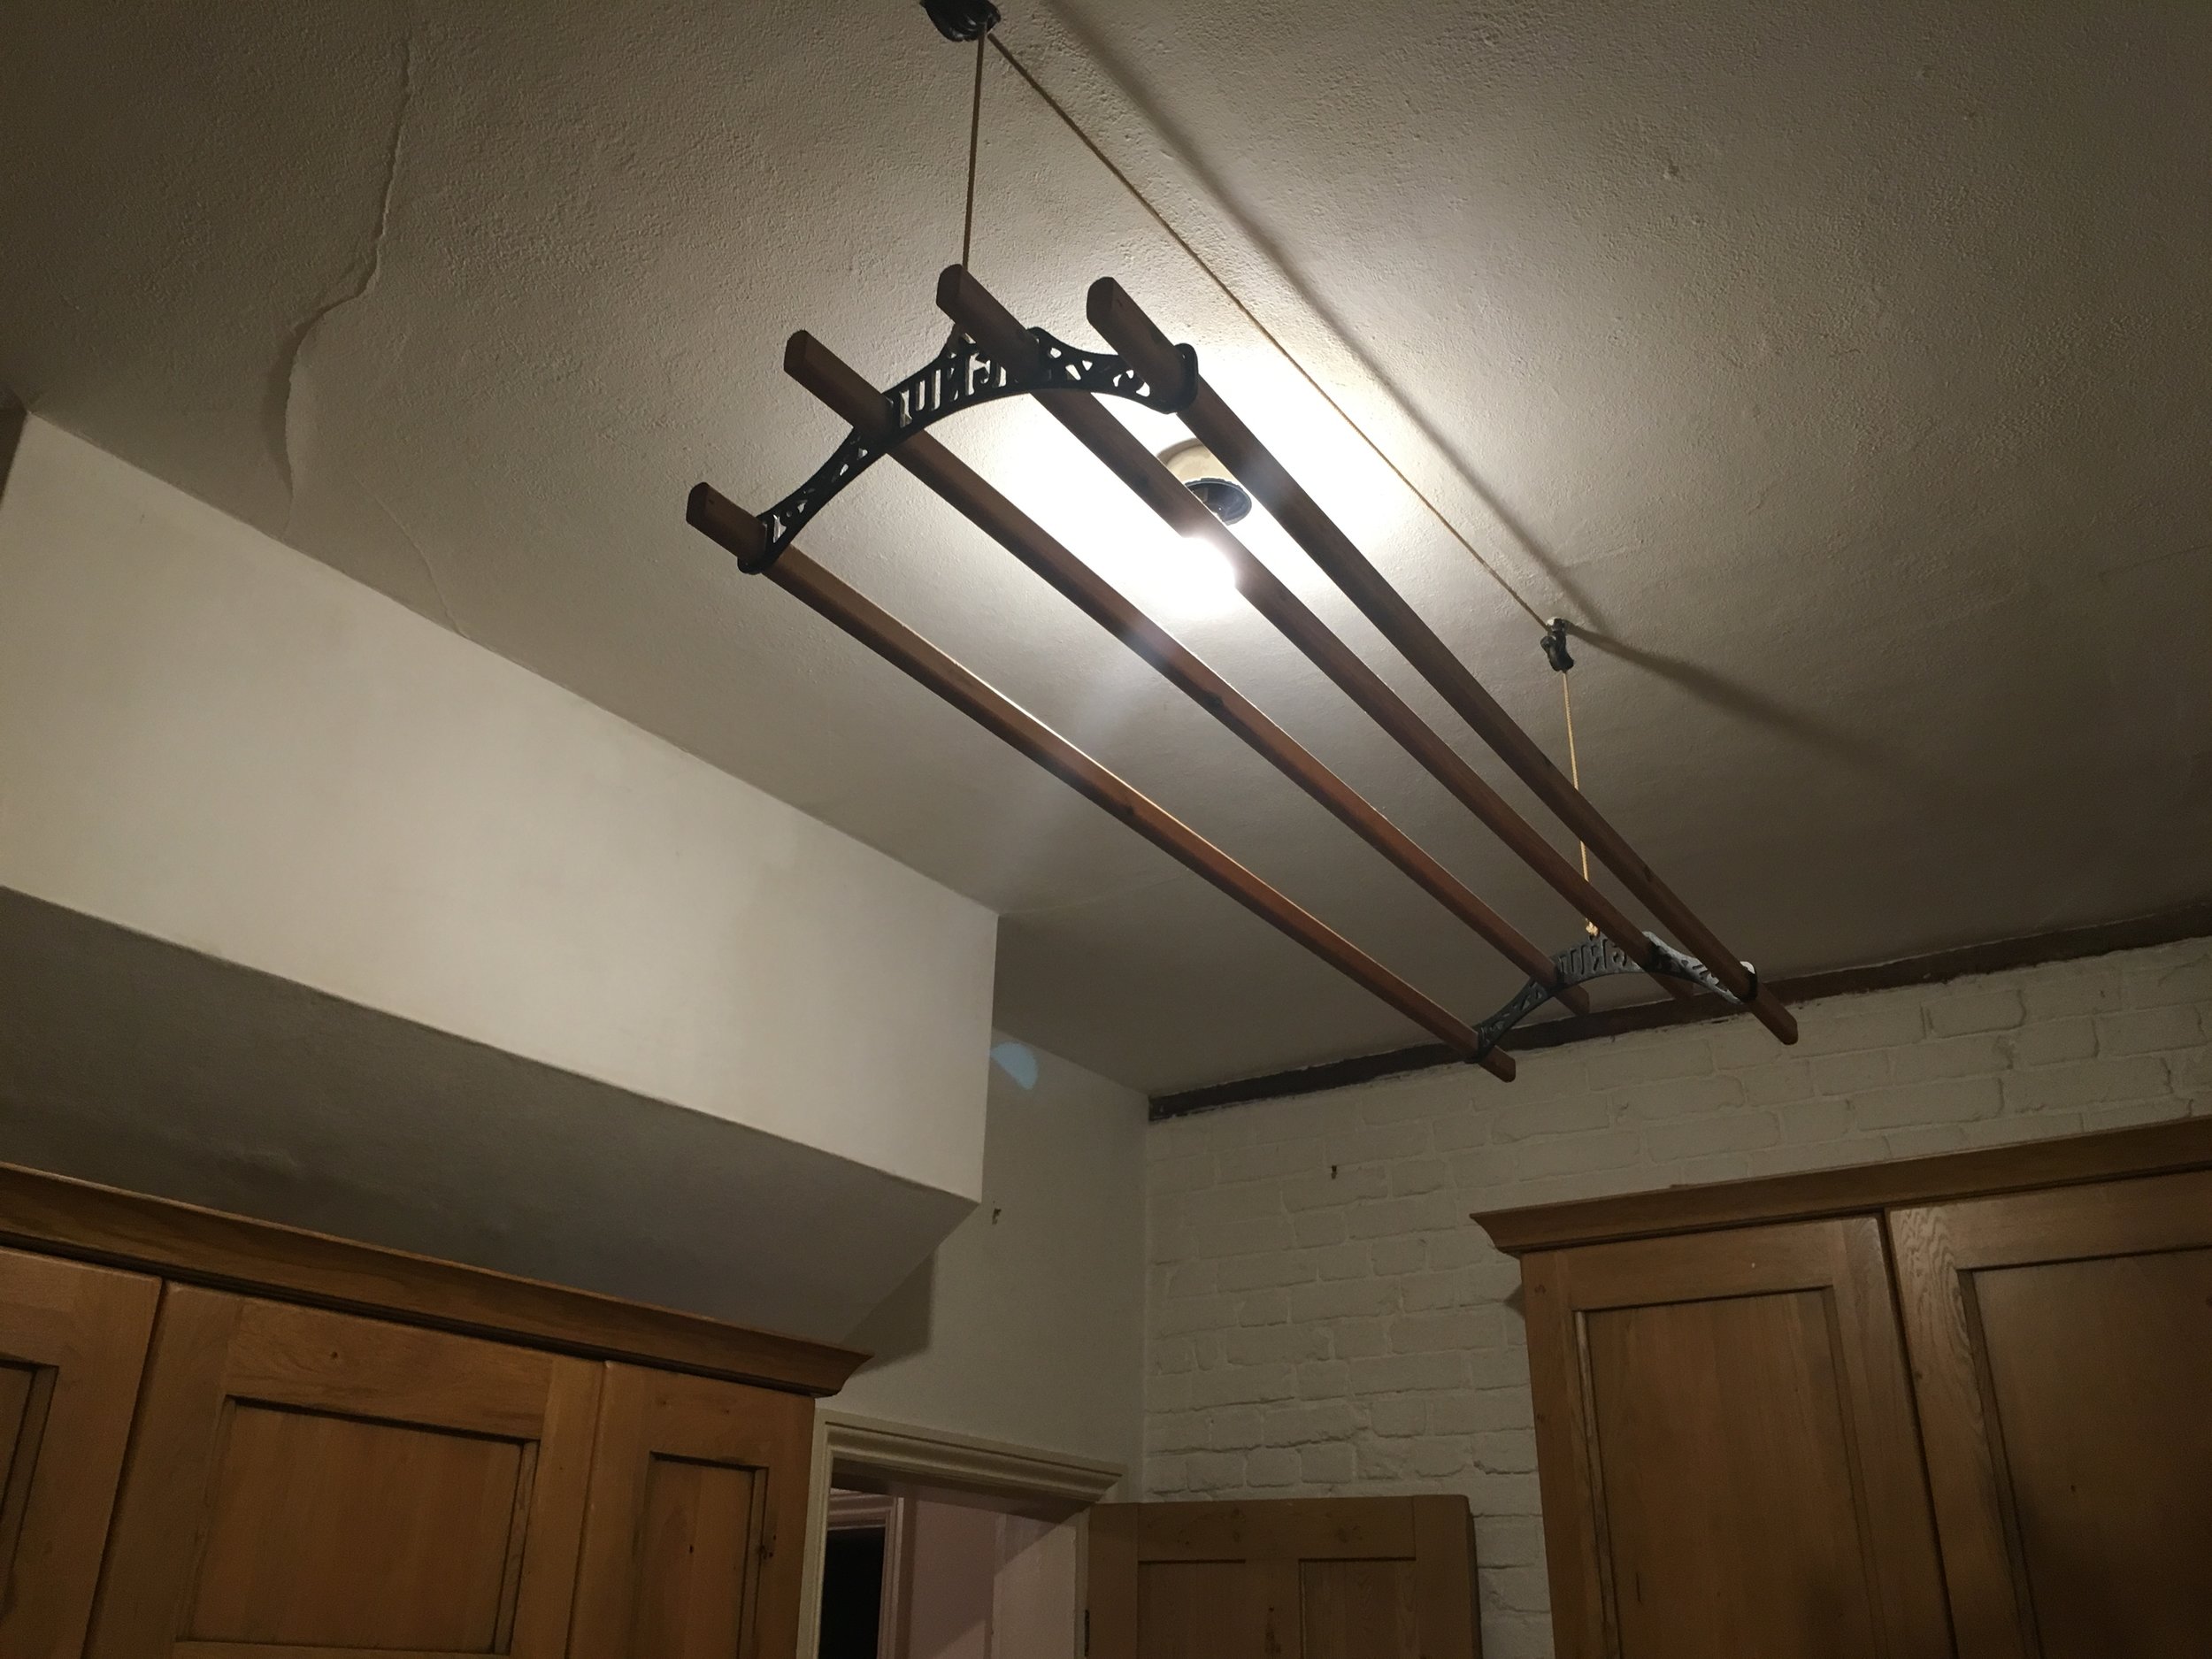
I recently posted the story of the kitchen ceiling on Instagram and thought that I’d like to share some more progress in the kitchen. It was the first room that we tackled, as I thought once it was complete it would feel like a big win and motivate us to do the rest of the house.
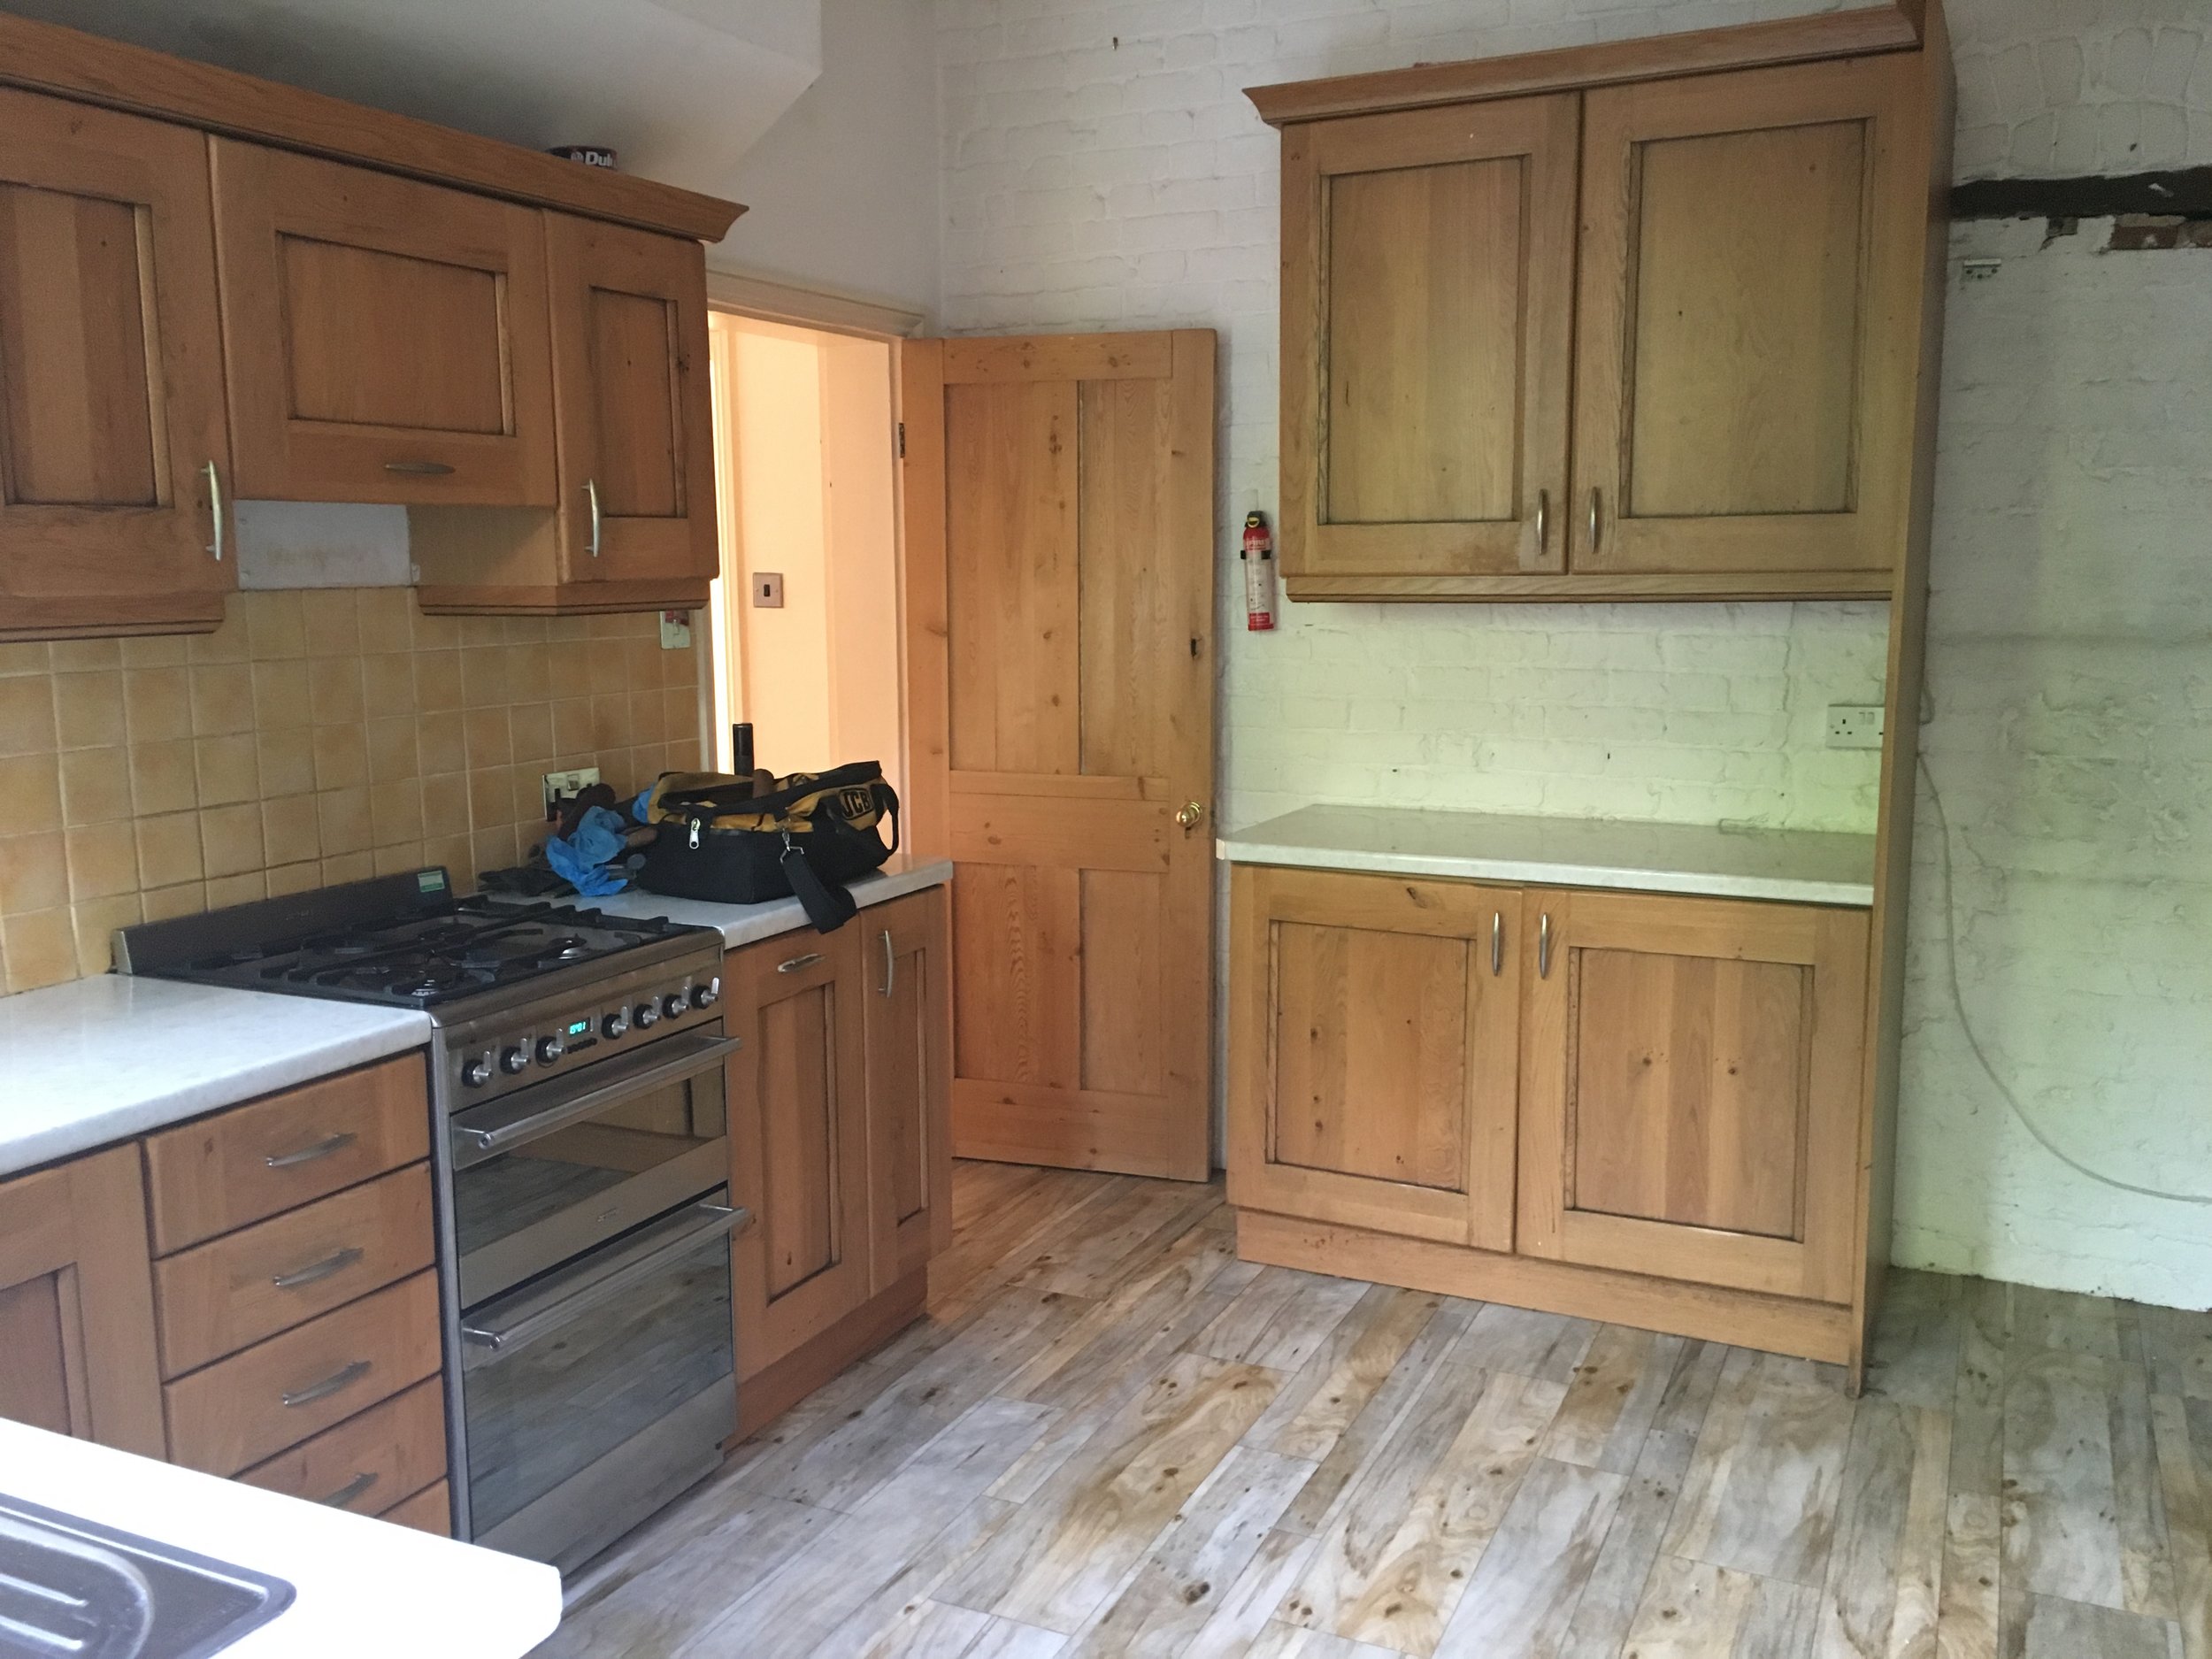
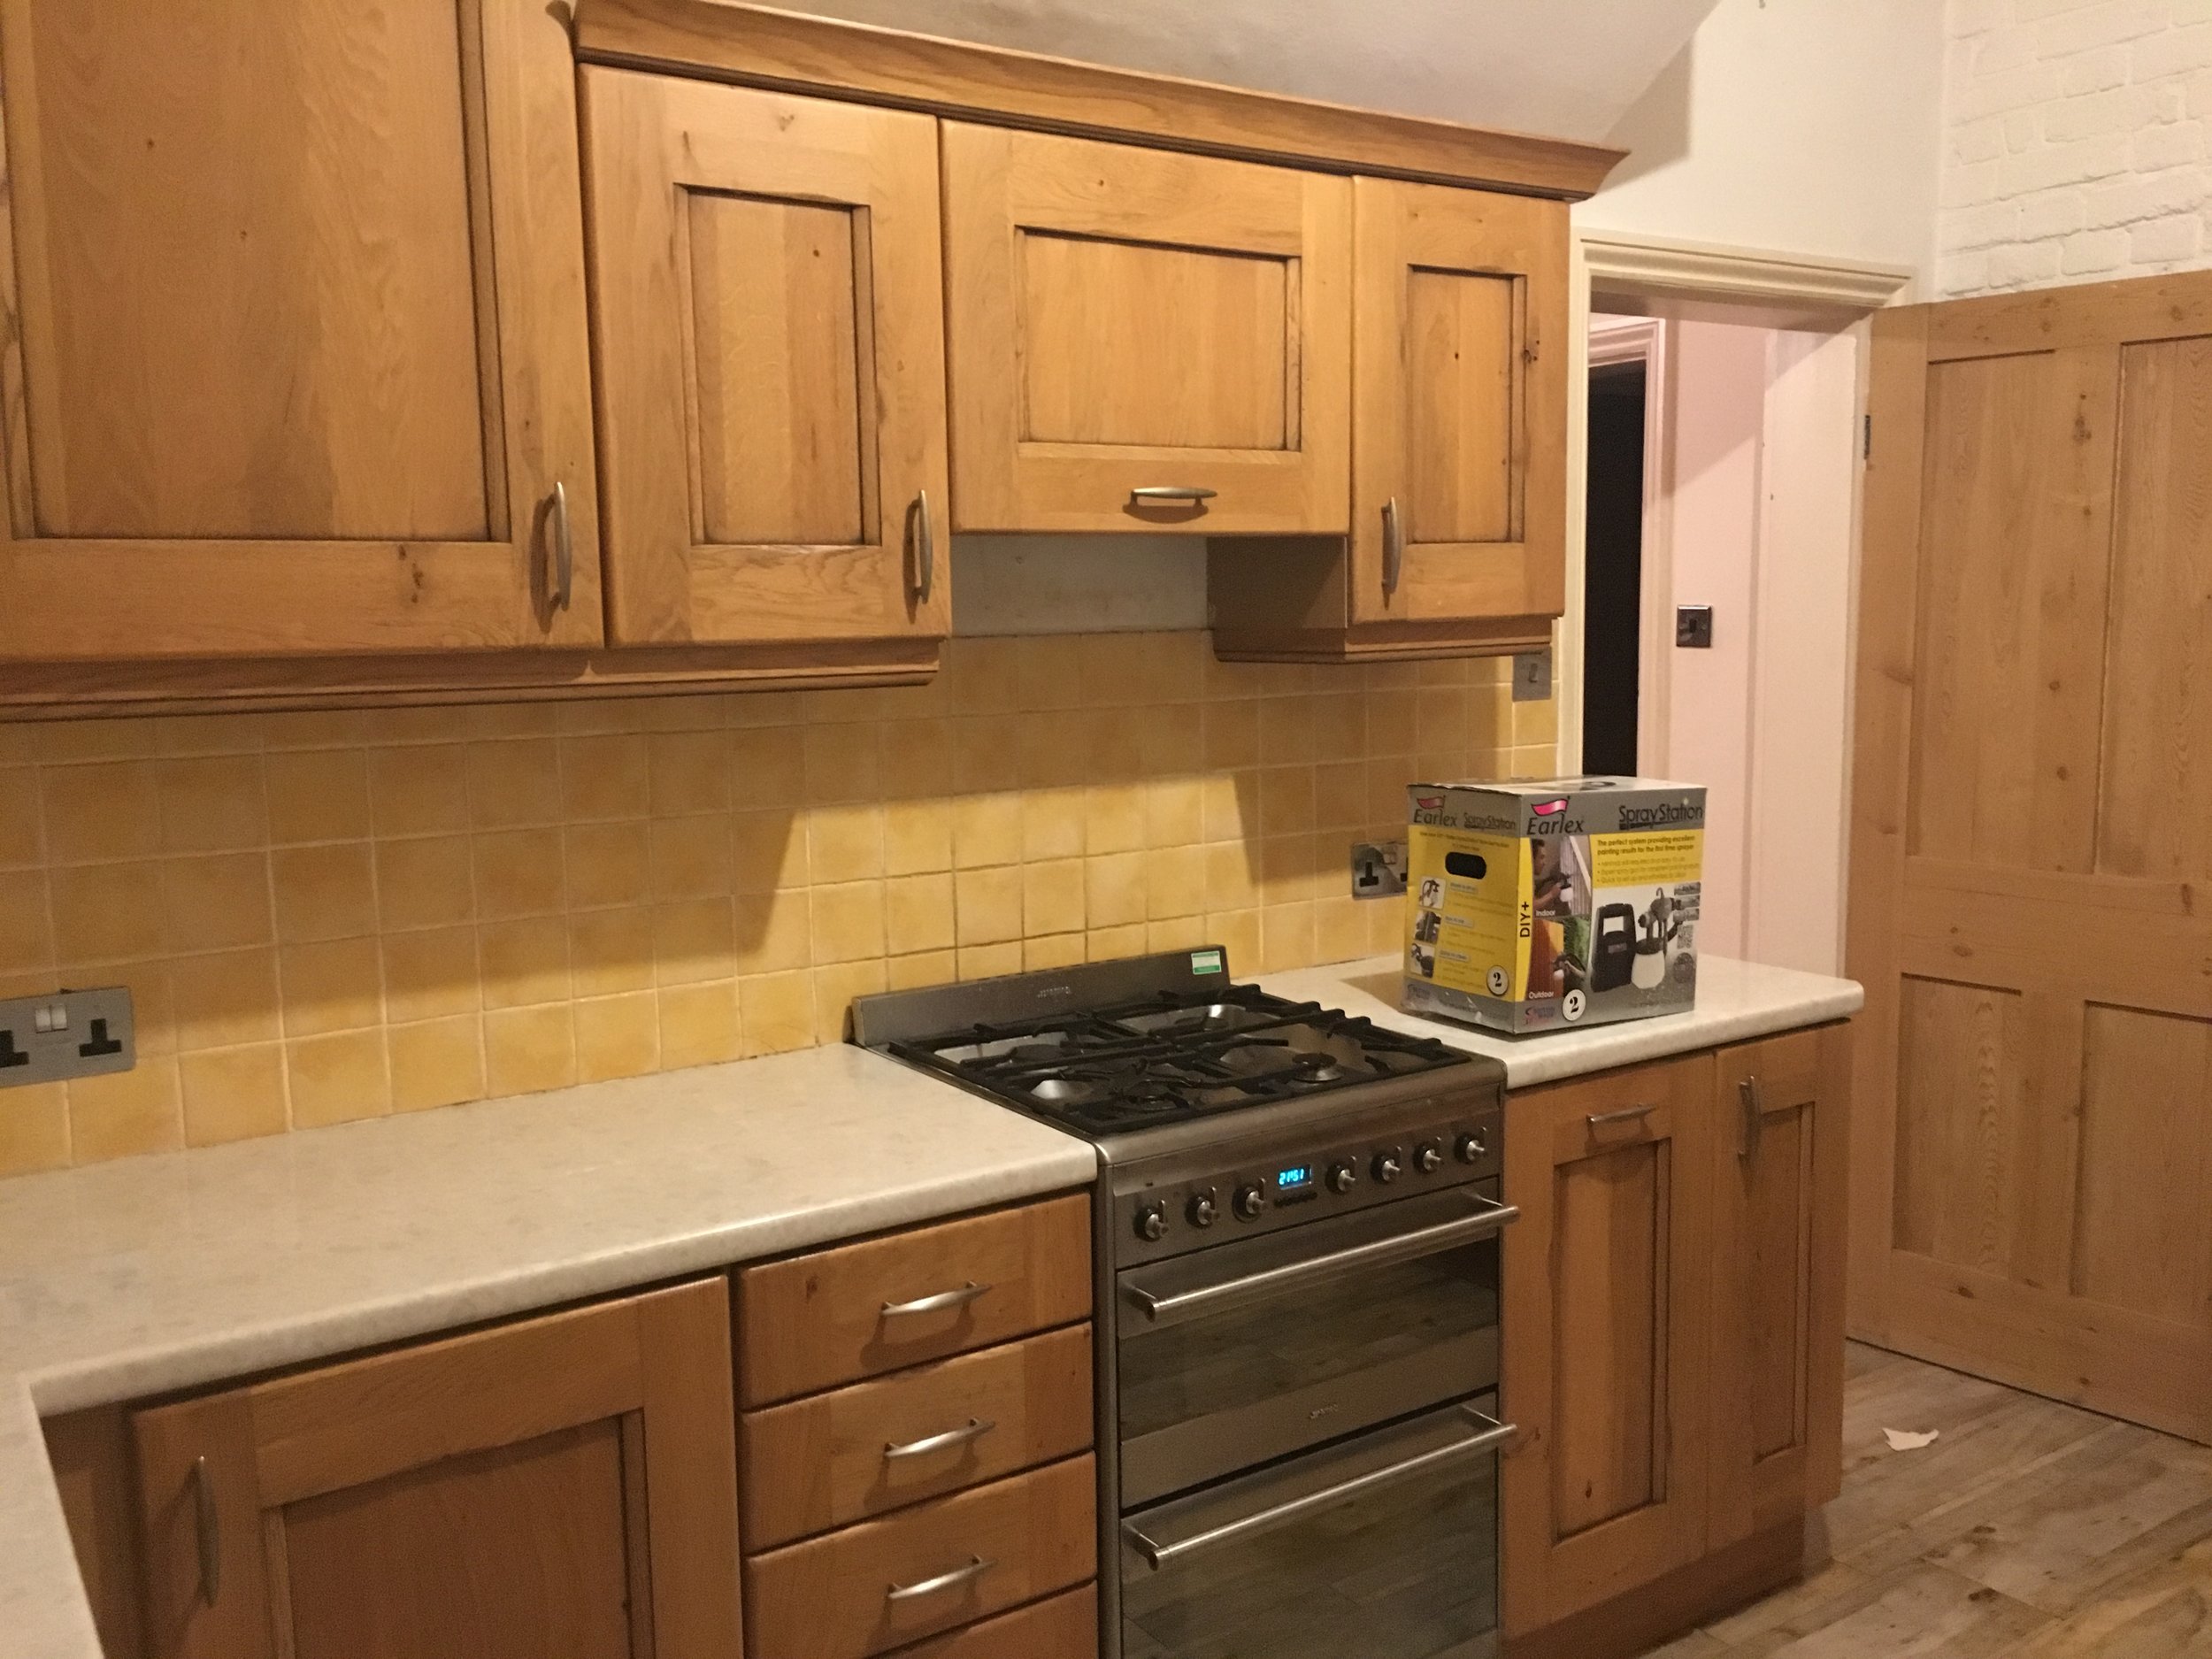
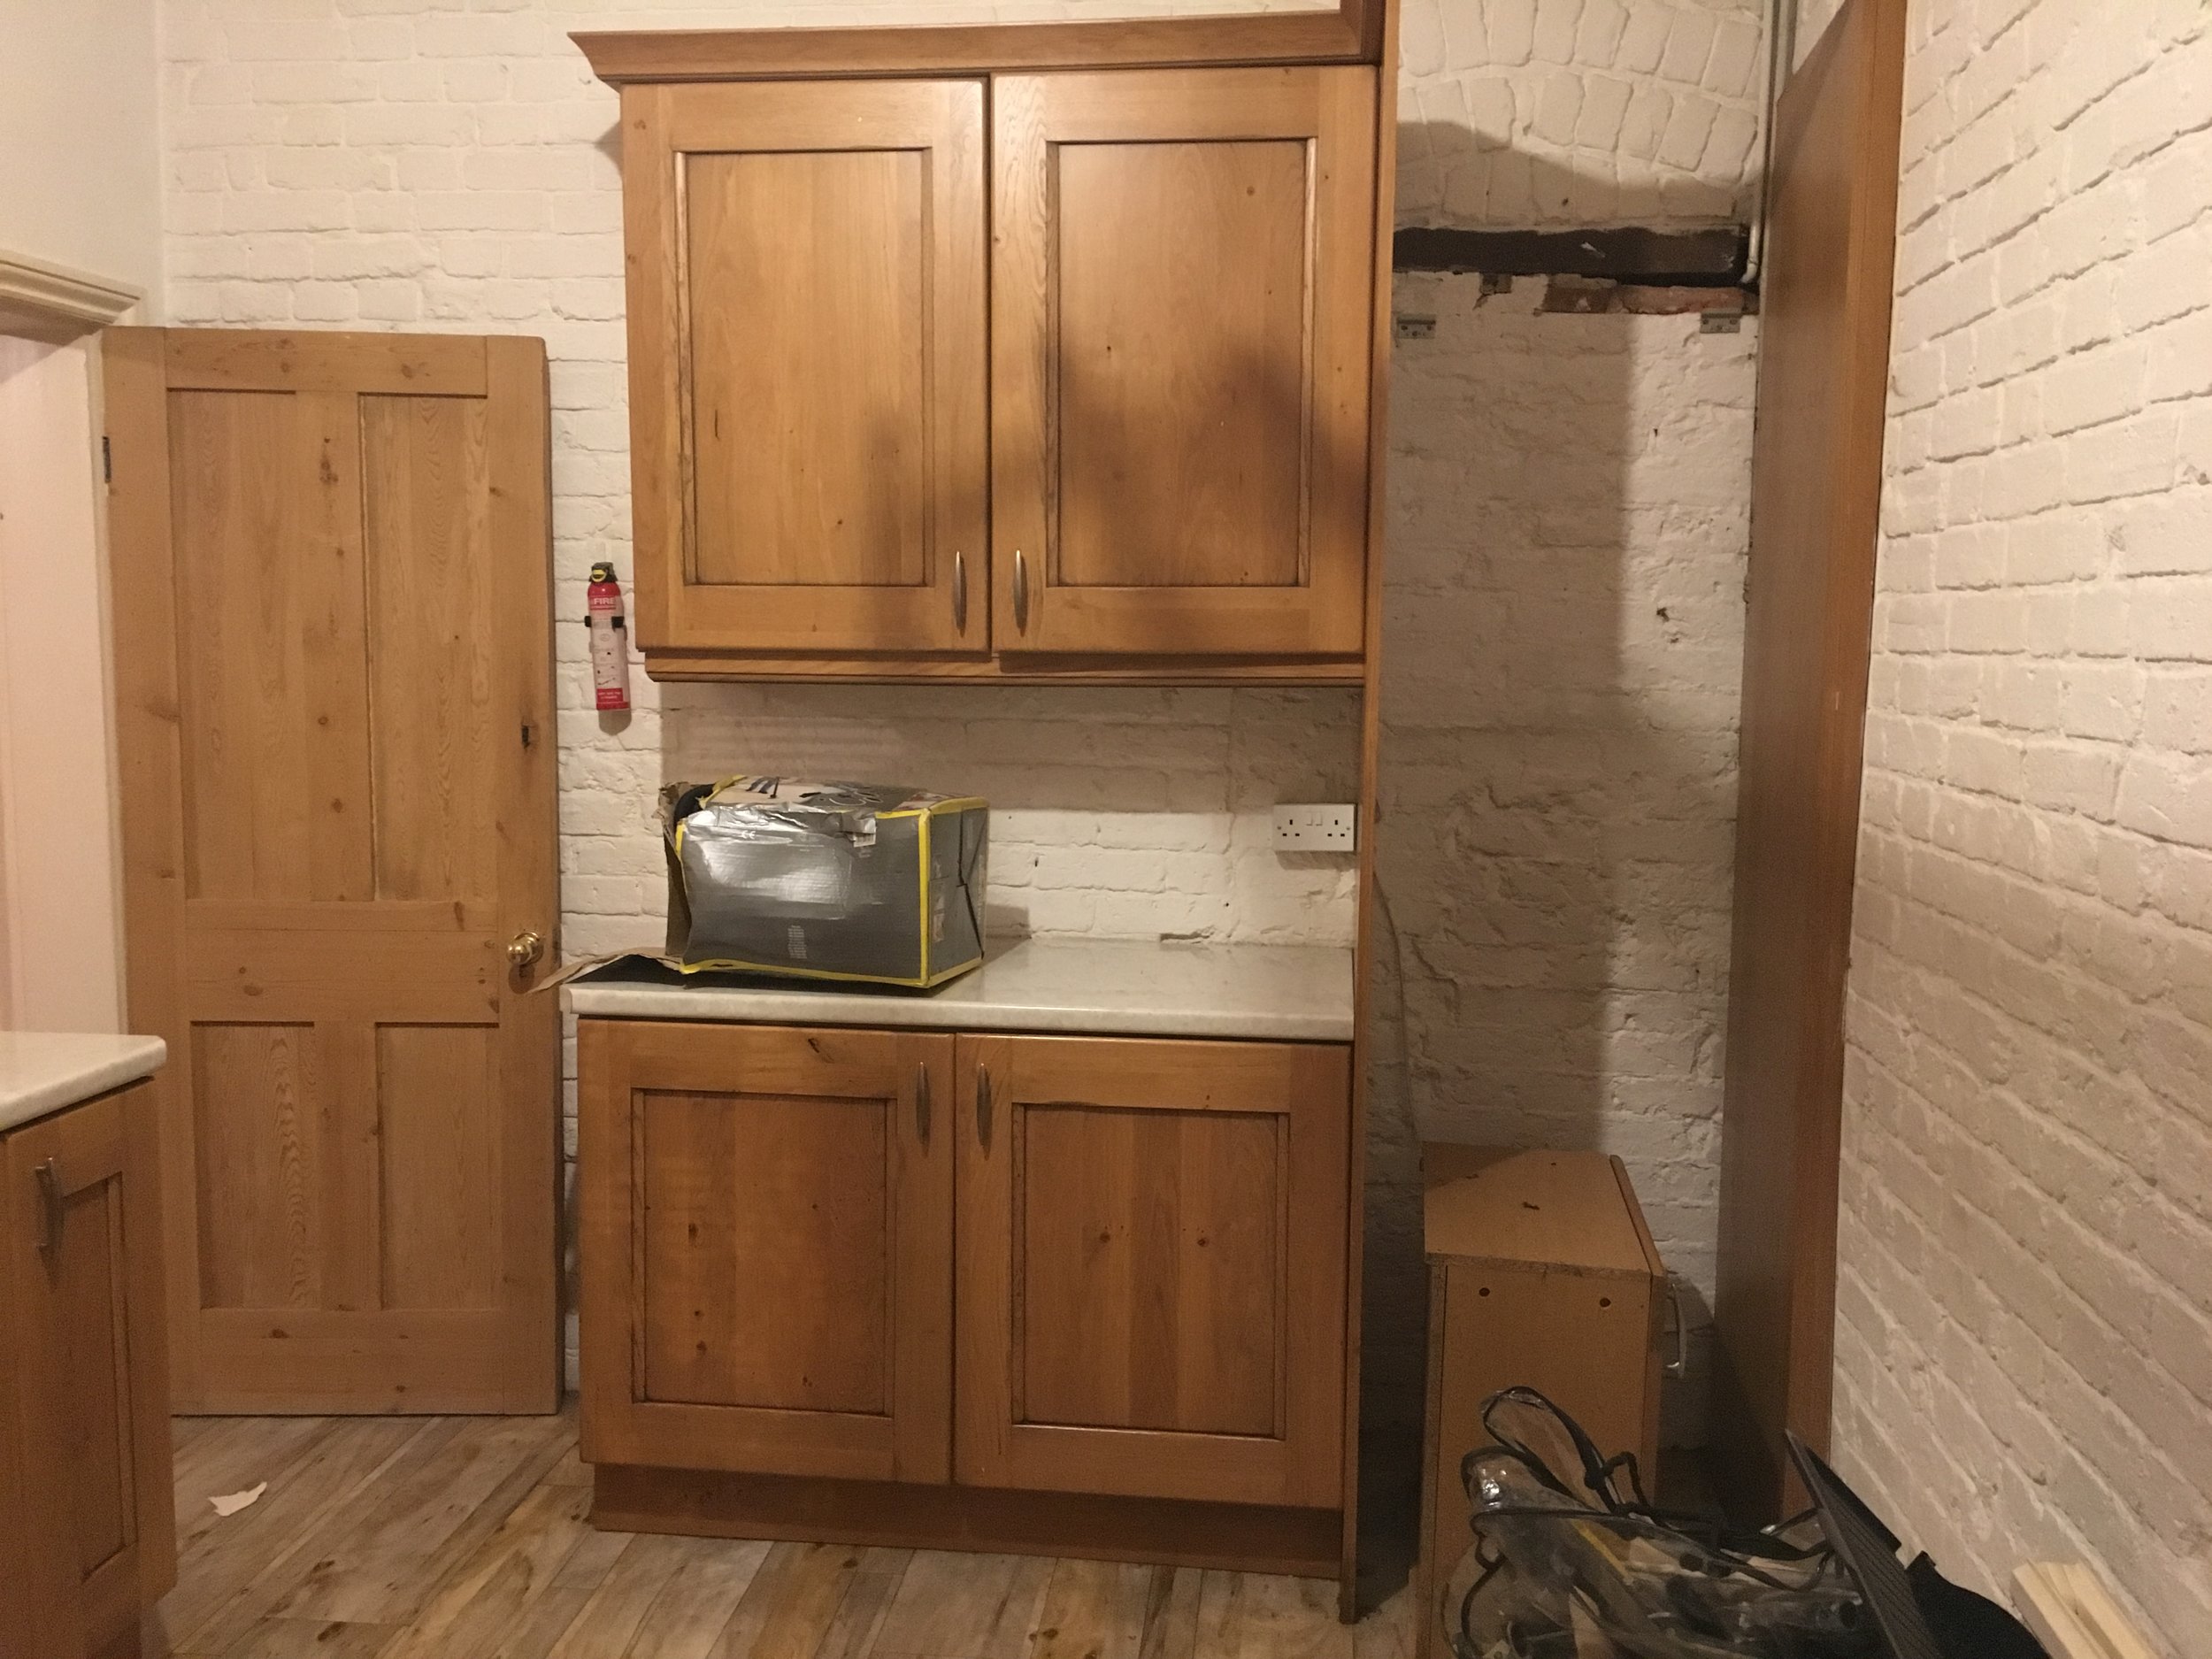
After the ceiling came down due to the damp-work man cutting through a water pipe in the guest room floor and flooding the kitchen, I was spurred on even more. Good thing too, as there was even more work to do than first thought. The kitchen as you know was pleasantly surprising once we had a proper look. The cabinet doors are wooden, with MDF interiors, and actually they suit the style of the house. However, it all looked a bit too dark and also very yellow. Now I love yellow, but this wasn’t exactly to my taste and it had to go!
I wanted a cheap way of making the kitchen feel like ours, without spending a fortune in the process. I saw lots of kitchen's on Pinterest with dual-coloured cabinets and loved the way this injected colour into the room but still made it feel very light. We went for it and below is a reminder of the before:
The damp man's attempt to patch the problem...
The new ceiling in place and drying out!
The cabinets were easier than I expected to update and I really recommend doing the following to bring life (and a sense of style) into a dreary room. Before I get started I wanted to say that I know my images are not your standard 'blogger' stylised shots, instead I wanted to show you how we really worked - empty drinks containers and all...that being said, here’s what we did:
1. Remove all the hardware
Unscrew all the hardware and keep everything stored together in sandwich bags, so nothing goes missing during the process. Top tip: write the location of each item on a post-it and pop that inside the bag too.
2. Remove the cabinet doors
After emptying the units (or not...) and washing everything down with sugar soap, Carefully unscrew the cabinet doors from the main units. Make notes on which door goes where by writing in pencil on the inside of each door.

3. Sand the inside and outside of each door
Using a hand-held belt sander, and a 120 grade paper, sand down the inside and outside of each cabinet door. This will sand off the pencil markings you make earlier, so you can either transfer onto a post-it note or re-write the location on the inside of the door like I did.
4. Sand the units left behind
Using the same hand-held belt sander, sand down the side and tops or coving in our case of the units left fitted into the kitchen.
Before spraying beings, lay out the hardware with gaps between to get an even coverage. Excuse the old carpet mess I used to protect the patio!

I used Rust-oleum Surface Primer in Grey to prime the hardware.
5. Hand sand the hardware
Using a piece of sandpaper in a slightly finer grade, buff any hardware down. Skip this step if you are buying something new! I decided, after looking around that the handles already in place were reasonable and could be an expense spared. Buying new handles is much more expense than I thought!
6. Prime the hardware
Depending on the colour you want the hardware to be will direct on the colour of spray paint required. For darker metallics a dark grey primer works really well. Avoid white primers for darker metallics (yellow gold/copper and darker) as they can look flatter and cheaper. Lighter primers are great for silvers and light metallics as well as coloured spray paint.
Take the hardware outside if possible on a sheet of old cardboard (or carpet!) and spray from each angle. I walked around my cardboard and sprayed at every 90 degree point in a wind screen wiper fashion and at a low angle. This improved the overall coverage.
Once the first coat is dry, turn over each piece and spray again. Repeat these steps until you have two full coats of primer. The primer I used meant I had to wait for 30 mins for each coat to be touch dry, so start early in the day with this.
First coat of primer complete, on one side.
Turned over and sprayed again
7. Spray the hardware
As before, take outside and spray with your chosen colour. Turn over and spray until you have 2-3 coats and a full coverage finish. Leave to dry for the time recommended on the can, or even longer if you can. This will prevent later chipping and wear showing so easily.

8. Masking tape the floor & Surfaces
Whilst waiting for coats of spray paint to dry, tape up the flooring and counters in the kitchen to protect them. We should have used super wide masking tape, so we could use small gloss rollers without worrying too much about being neat but instead we doubled up on tape which was a big waste.

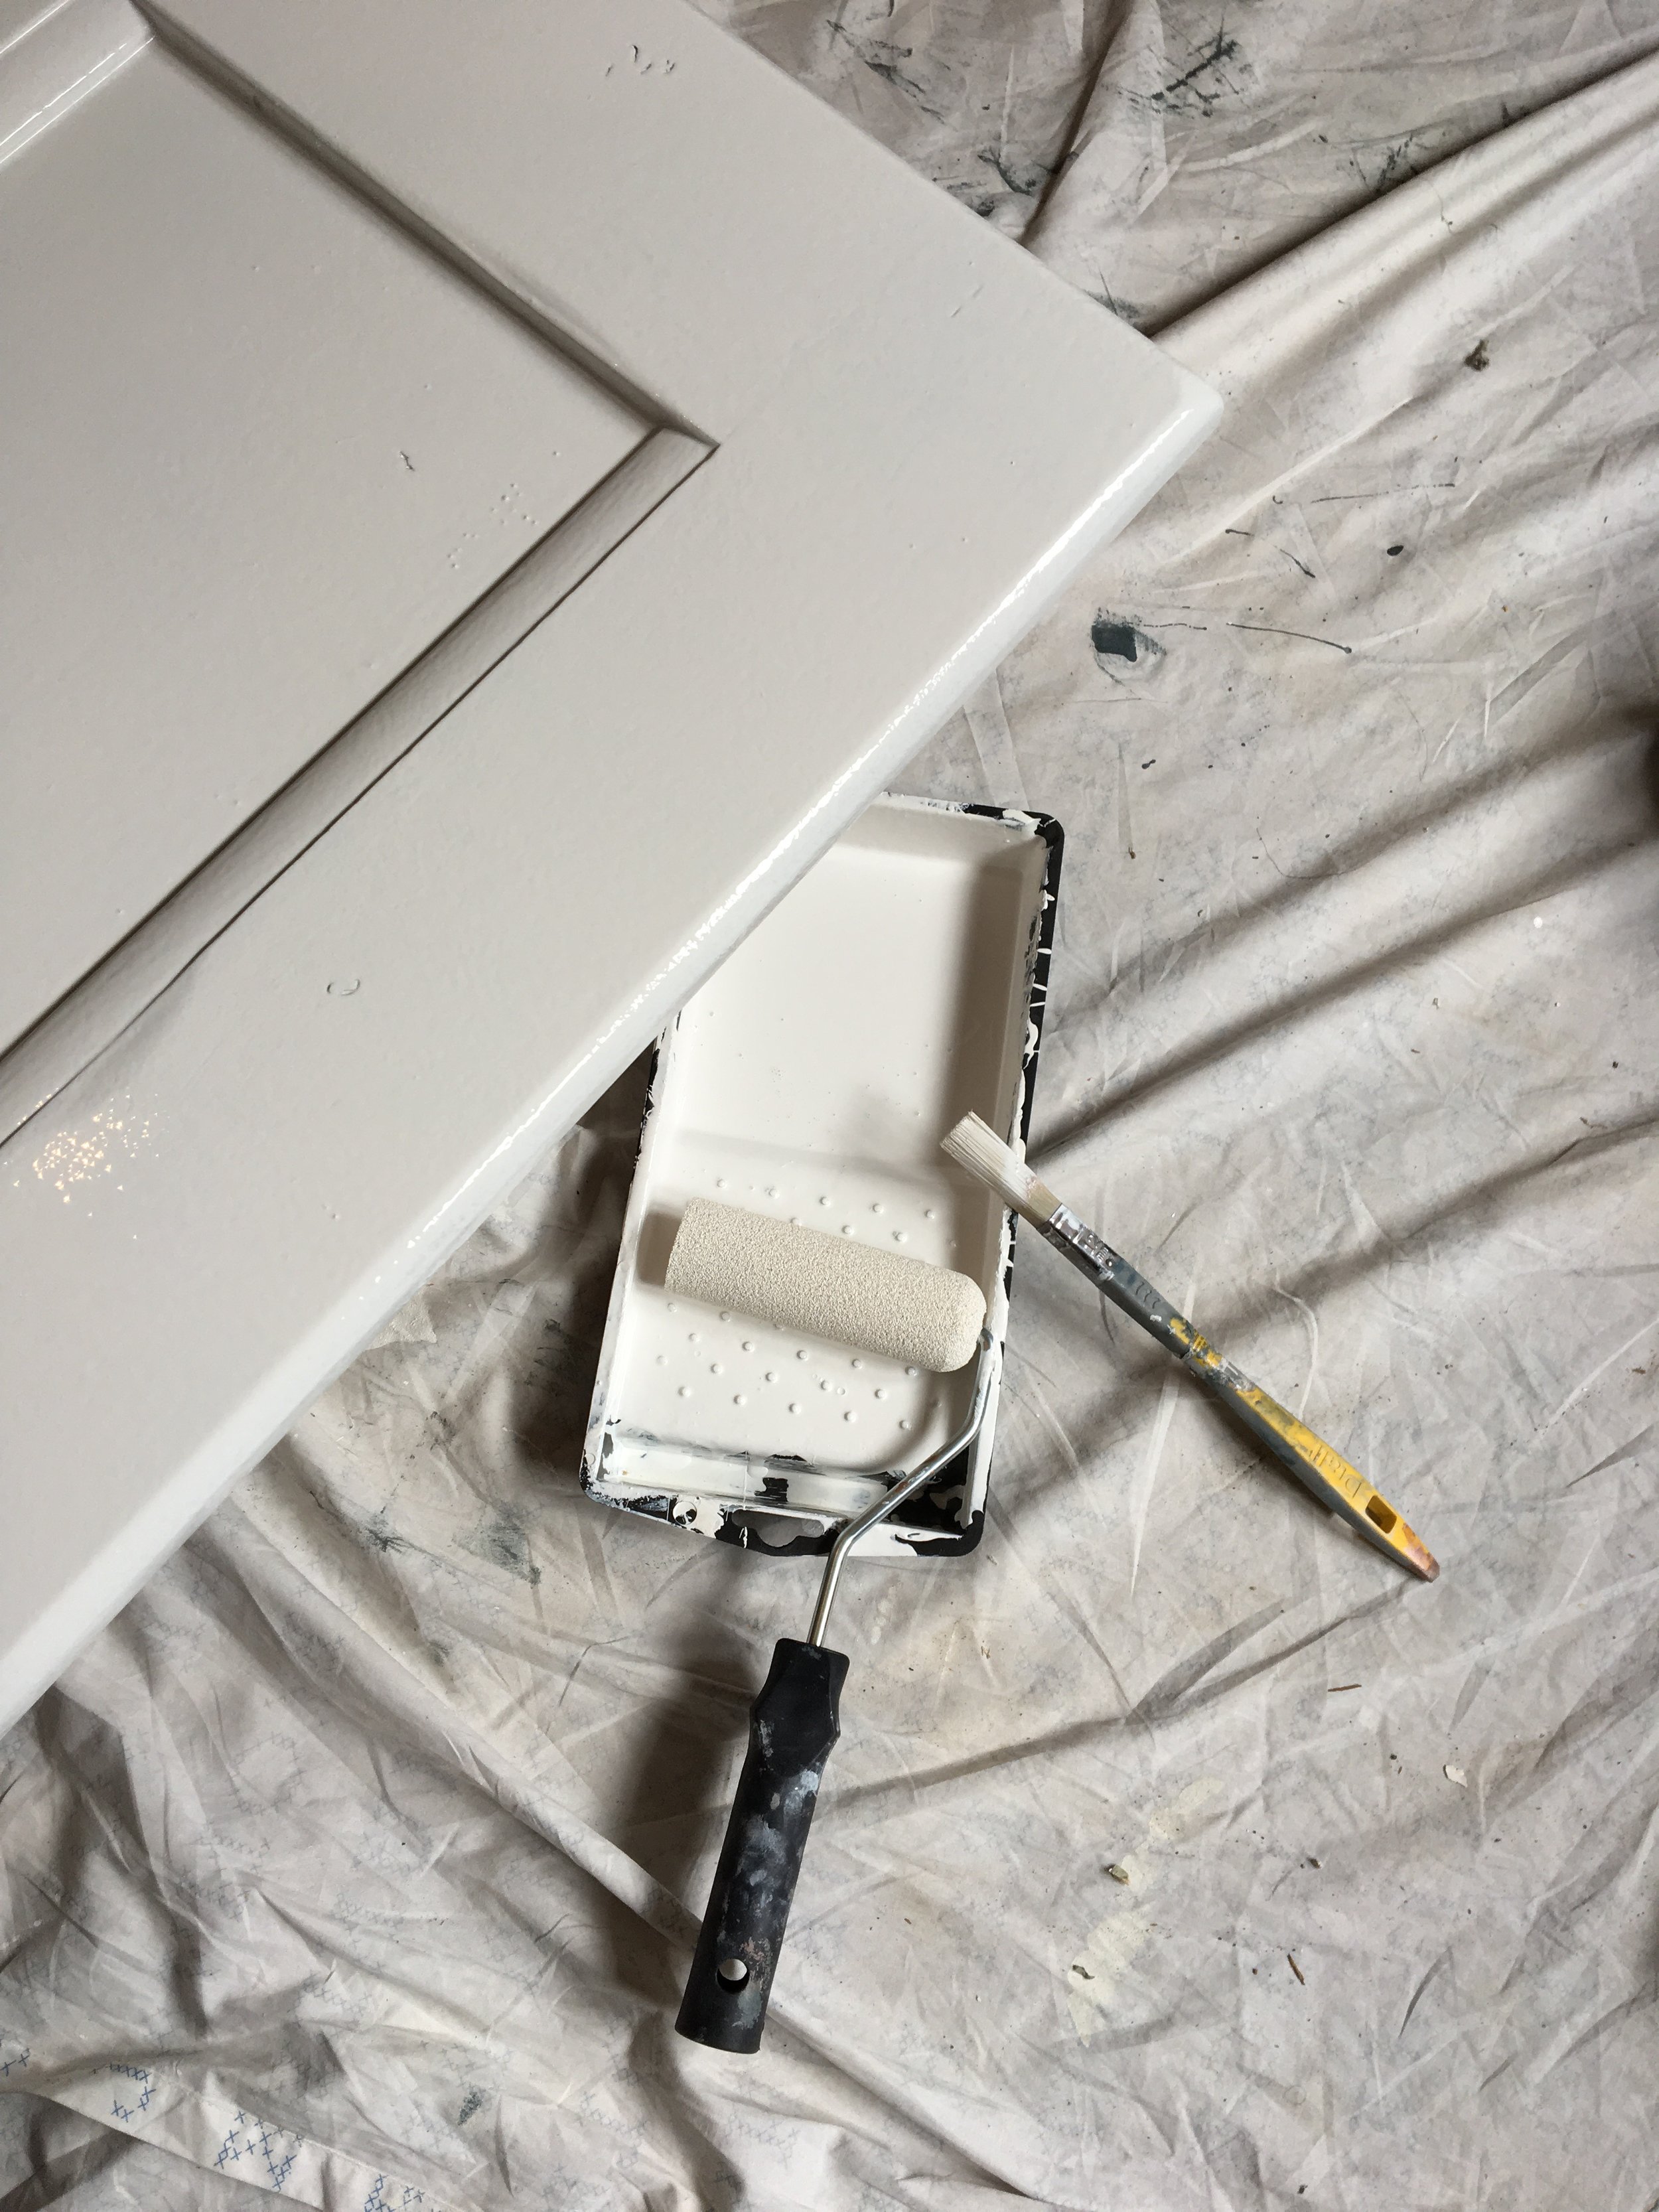
9. First coat on the units, coving & doors
If your paint requires a primer, now is the time to use it. We used Ronseal One Coat Cupboard paint, which worked exceptionally well in the Colbalt Grey, but definitely required more coats in the Brilliant White. As above use gloss rollers if you can as the finish is much smoother and less shabby chic (unless this is what you are going for!).
We used Ronseal Cupboard & Melamine Paint in White & Colbalt Grey
Colbalt Grey gives me all the feels.
If you want to go all one colour, obviously that totally works, however if like us you want to have the top units in a light colour and the bottom in a dark colour, remember to look at the cupboard location notes you made to ensure you paint the right ones in the chosen shade.
TIP: Using a small paintbrush, coat any grooves or knots in the wood to make rollering much easier and more efficient.
We placed our cabinet doors on buckets so that we could easily paint the sides and top of each one before turning it over (after drying to do the inside).
Make sure you re-label the door’s original location again, as painting over it could cause later confusion.

10. Second coat everything
This is pretty straightforward, the only tip I would give here is get someone else to look over the units and spot any missing bits. Remember to do the underside of the top cabinets! Repeat coats until full coverage!
11. Reassemble once dry
Leave the doors for as long as you can before reassembling the kitchen. Attach hardware to the doors before attaching doors to the units, so that you can open and close them to test the hinges are secured at the right angles. Angles can be changed thorough the tightness of the screws within the hinges - play around with this until they open and shut perfectly.
12. Stand back, admire and send me a picture!
Please remember to use care and common sense when tackling projects like this, only ever paint in a ventilated space and take care when sanding or using sharp tools. I am not a professional painter/decorator and I am simply sharing what worked for me.
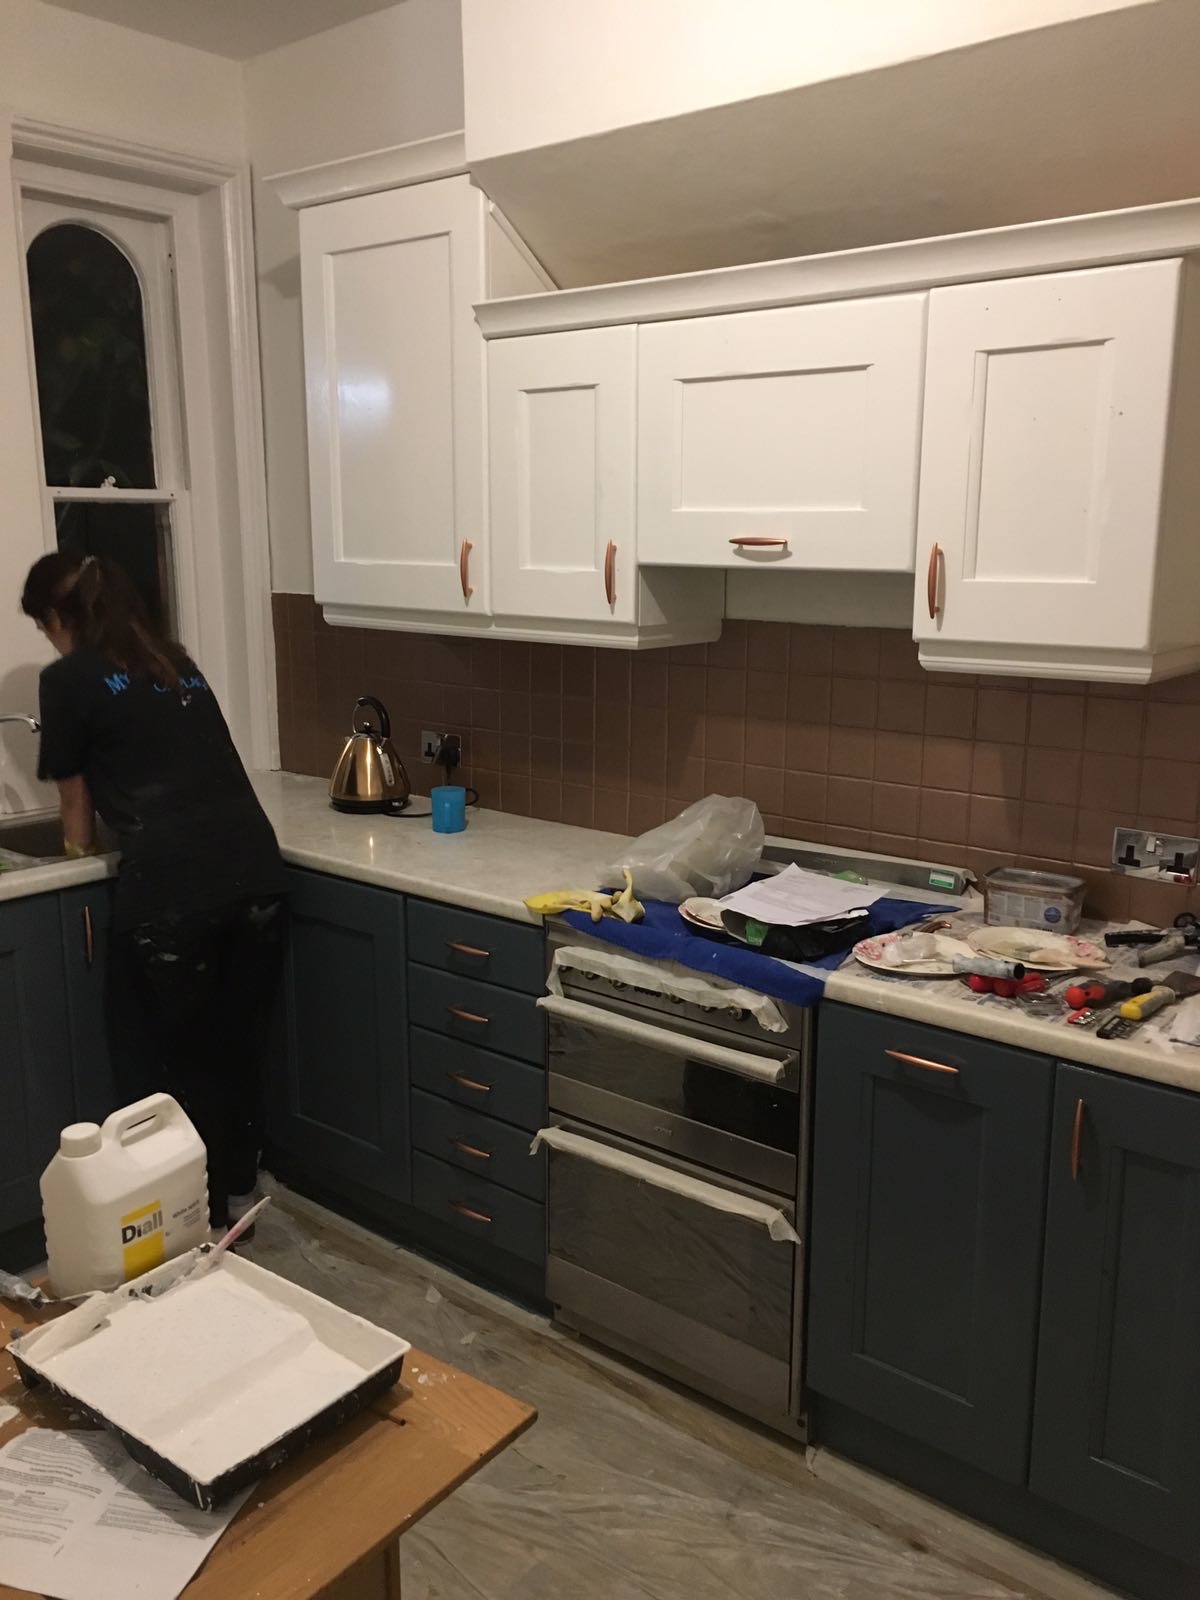
Clearly, I'm enjoying the washing up...
Send me any feedback you have as I get started on what other info would help and I will do my best to get back to you or include it in a later post!
-
Links within this post are affiliated, although it is not a sponsored post. This means the company will give me a few pennies for anything you purchase using my links, there will not be an increased cost to you!
I’m Lucianne, a creative designer specialising in website design, branding, marketing collateral for businesses large and small particularly within the retail sector. I also love to work with brides and grooms-to-be on their wedding branding, websites, invitations and more.
I help businesses grow using a personalised, hands-on approach to your brand identity and design requirements.


